This creates not only a tasty beverage but is also a great way to preserve apples, use this recipe on how to make hard cider. If you are new to home brew, this is a great way to get started because it is a simple and easy recipe.
Looking for ways to incorporate all those fall apple harvests into your homebrew setup? Use your apples to create hard cider using homebrew equipment you already have on hand or purchase only a few items to get the job done.
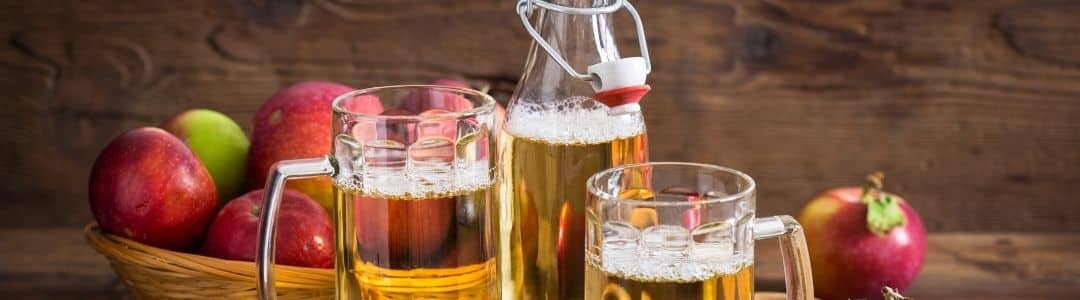
How to Make Hard Apple Cider
This creates not only a tasty beverage but is also a great way to preserve apples. If you are new to home brew, this is a great way to get started because it is a simple and easy recipe. Total Time: 1 hour prep time. 2-4 weeks to ferment. Equipment Needed to Make 1 Gallon of Hard Cider:- Sanitizer
- Large pot
- Big Funnel
- Mash Paddle – Stainless Steel
- 1 gallon glass jug with airlock cap
- Hydrometer
- Auto siphon with tubing
- Bottle filler
- Flip top bottles
- Keg
- 1 gallon apple juice made from fresh apples or purchased preservative free apple juice.
- 1-pound brown sugar
- 1 cinnamon stick, 3 whole cloves, 10 raisins
- ½ package of 0.176 oz. active dry wine yeast packet
Preparing Your Hard Cider Ingredients and Equipment – Step 1
Now that you have gathered all the supplies needed, start by sanitizing all the equipment that will touch the cider. This is an important step that shouldn’t be skipped. We recommend Star Sans Sanitizer as it is non-toxic and no-rinse. It’s the brewer’s choice. A hydrometer reading is an easy way to measure the specific gravity or sugar content of the sweet apple juice. This reading will allow you to calculate the potential alcohol that could be produced. More sugar, more alcohol.- Fill a test cylinder with a cider sample
- Place the hydrometer into the sample and give it a slight spin
- Take reading and adjust sugar addition as necessary
Brewing Hard Cider – Step 2
This is where the magic happens. Mix half gallon of the fresh apple juice in the pot and turn it on medium-high, without boiling the apple juice. Once it’s warm, add the brown sugar and stir to dissolve, then remove the pot from the heat.Fermenting Hard Cider – Step 3
Place the cinnamon stick, cloves, and raisins into the empty one-gallon brewing jug. Use the funnel and paddle to transfer the warm cider from the pot into the gallon brewing jug. Allow the cider to steep with the flavoring components for approximately 20 minutes. After 20 minutes pour the remaining ½ gallon of apple juice into the glass container. Leave 2 inches of space at the top of the jug.Mixing Hard Cider – Step 4
Place the cap on the glass container and shake well to combine the mix. Check the temperature of the juice mixture in the glass container. Once it is cooled to less than 90 degrees F add the yeast to the container. Approximately ½ of a package should be all that you need. Place the cap on the glass container again and shake vigorously this time. This will aerate the yeast and distribute it throughout the glass container. Attach the airlock to the rubber stopper, fill the stopper with water, and place it in the top of the glass jug.Hard Cider Fermentation – Step 5
The hard cider needs to ferment, place the glass jug in a cool, dry, and dark place. Pantries or closets are usually a great spot to store. Overnight you might notice some bubbling starting to happen in the jug. Wait until it completely ferments. Once the bubbling stops, you will know it is done and this can take 2-4 weeks, so check on it often to determine when it is complete. Once the fermentation process is complete, you can keg or bottle the hard cider then enjoy! Are you a brewing adventurer? Try making hard seltzer next. Inspiration for this blog post was provided by Grow For a Cook Ferment.